Where it goes
The battery body hangs on the outer side of the left temple, right behind the hinge, held by a silicone sleeve. A thin cable runs along the back of the brow to a small connector that snaps onto the charging contacts at the nose bridge, from the inner side. Drag to rotate, scroll or pinch to zoom.
1Temple clip / sleeve
The plastic clip that holds the body on the temple snaps when the glasses are put on and taken off.
2Cable exit at the body
No strain relief where the cable leaves the battery body; it fatigues with repeated flexing.
3Cable entry at the connector
Same problem at the T-shaped connector that carries the charging pins.
4Nose-bridge clip
What buyers report most: the top part of the clip that grips the bridge breaks, usually when the unit is taken off to charge the glasses in their case. One buyer avoids it by hooking the bottom first and then snapping the top.
Schematic, not for measurements. The battery unit is drawn in orange so it stands out; the real one is black (switch with “Real colours”, and hide the glasses to see the unit alone). The unit was modelled from the photos below. The glasses are a simplified model built from Meta's published dimensions (Standard size: 144 mm hinge to hinge, 47 mm lens width, 23 mm bridge, 129 mm temple). The position of the battery and the cable route follow the product manual and the product photos. Caliper measurements of the real part are the reference for the design.
Photos
Stills taken from the 4K video. Click any photo to open it large.
Video
The original footage is 4K; these are 1080p copies without sound.
Product manual
Both sides of the leaflet that comes in the box. Click to enlarge.
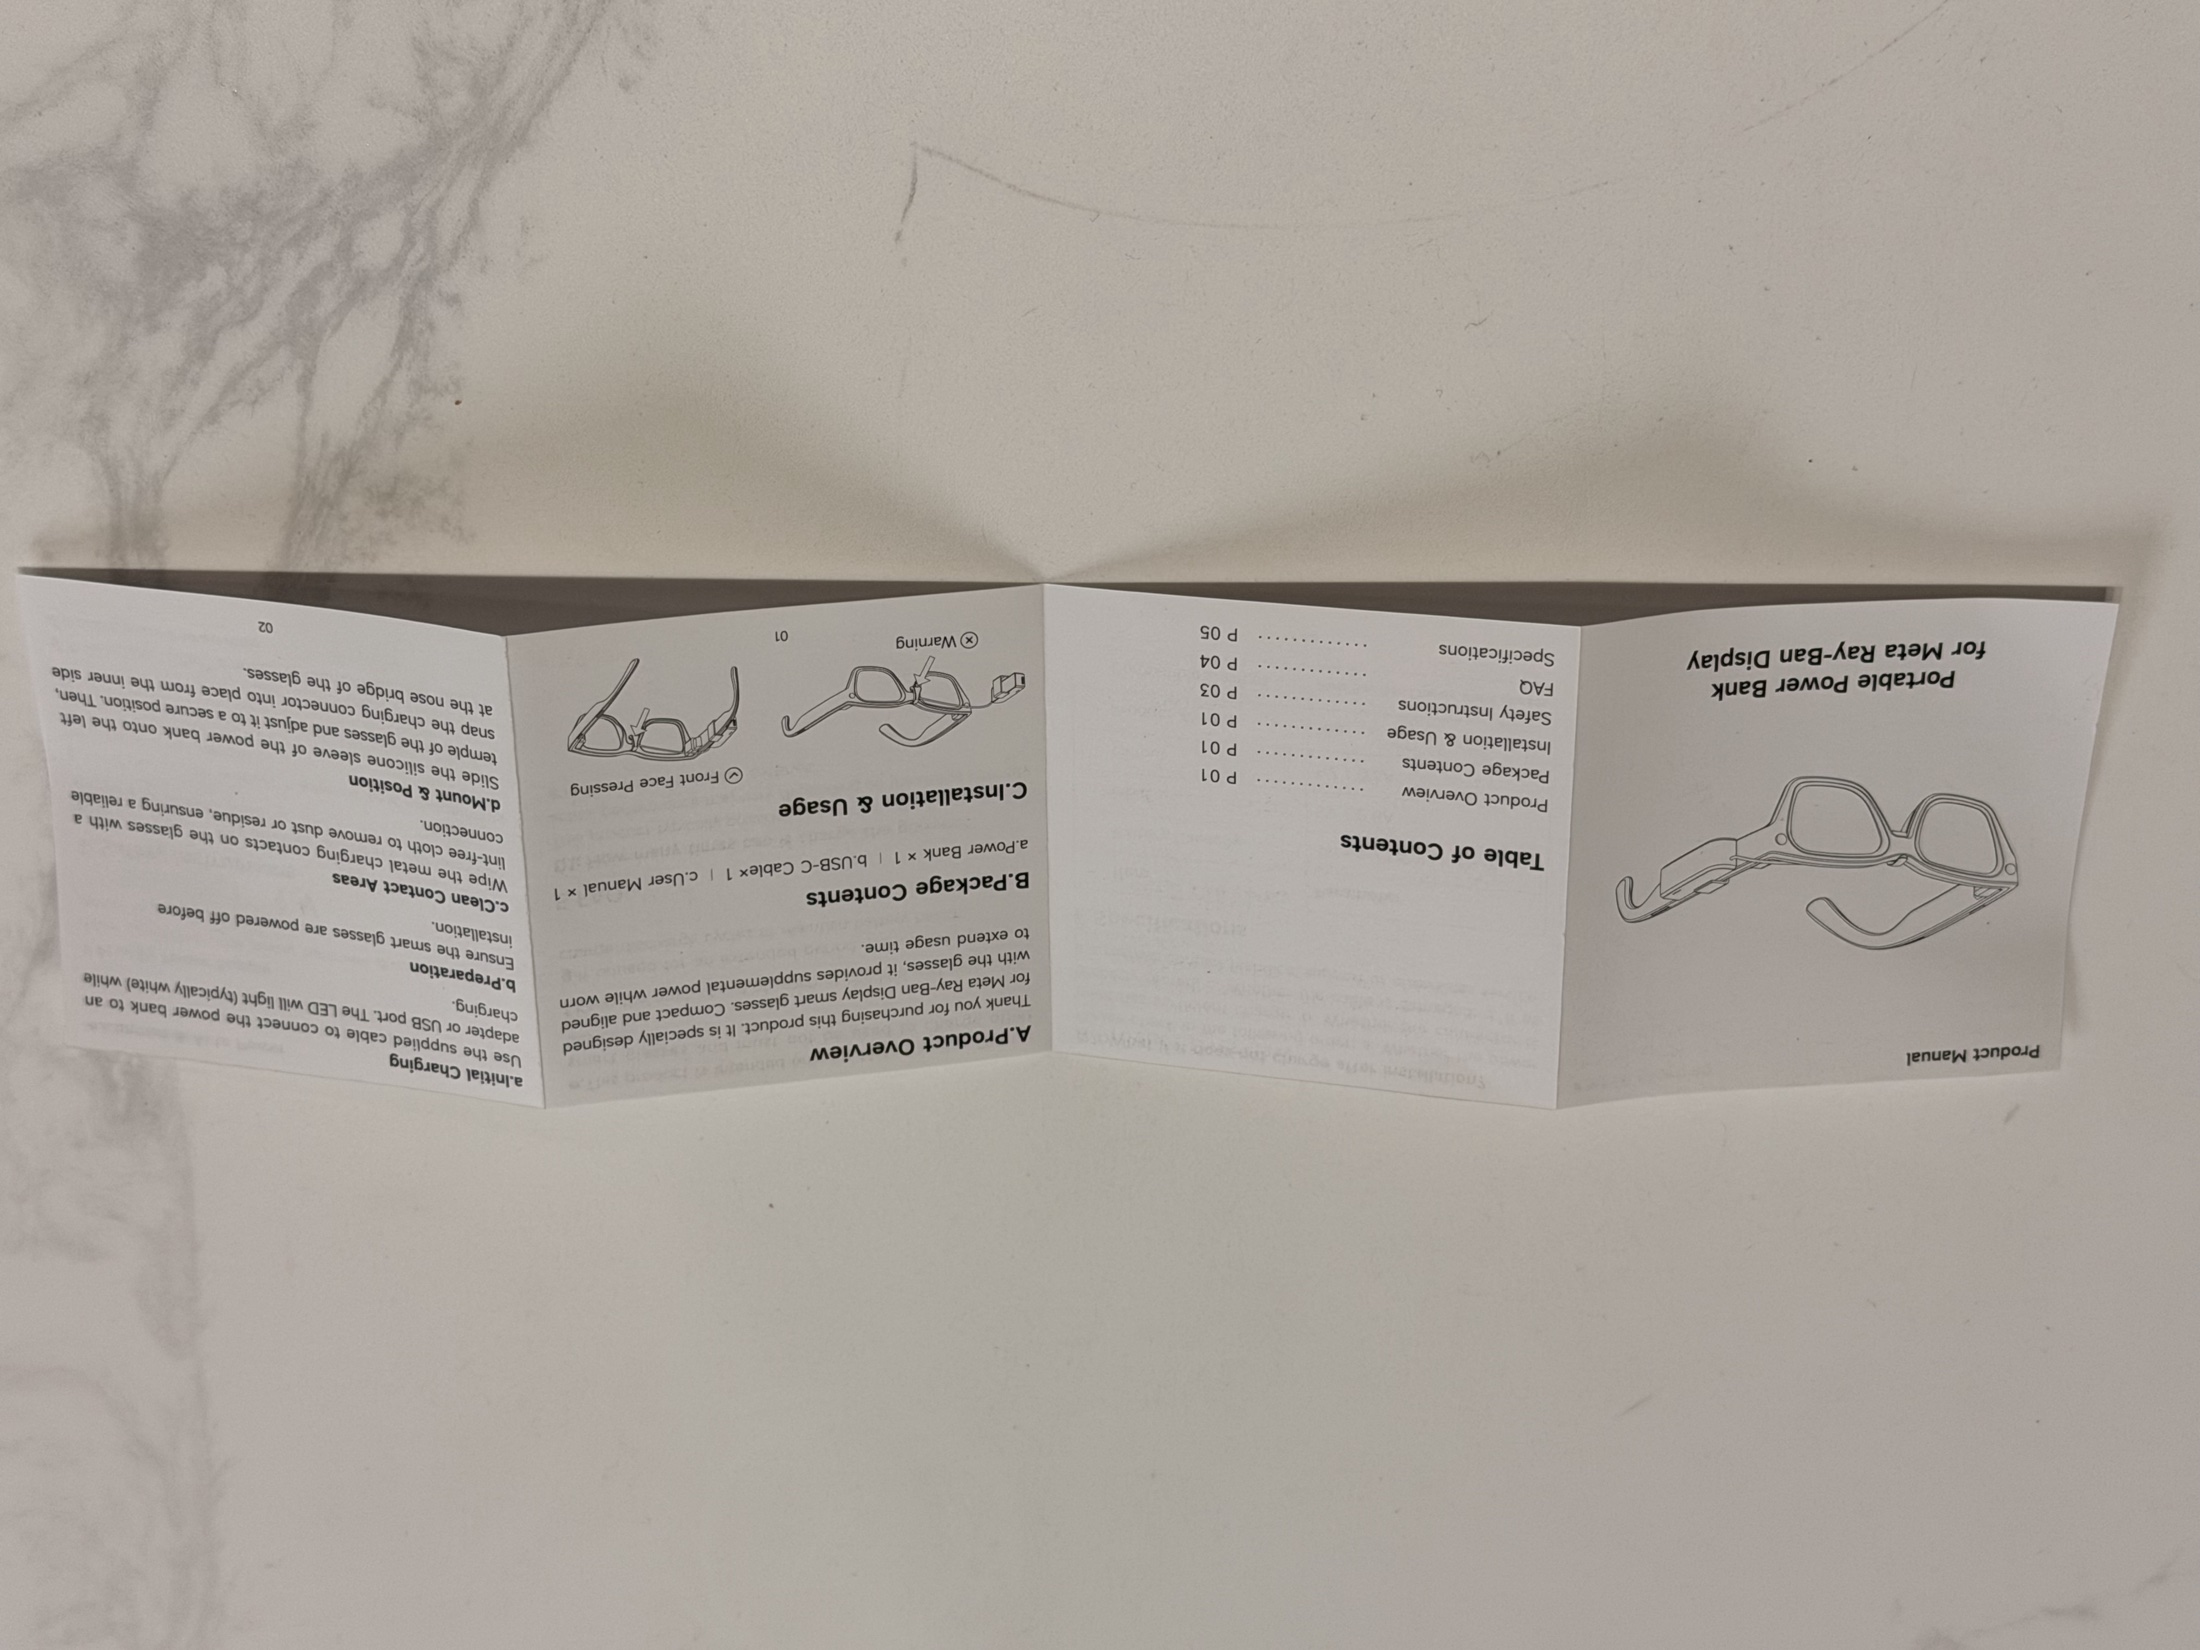
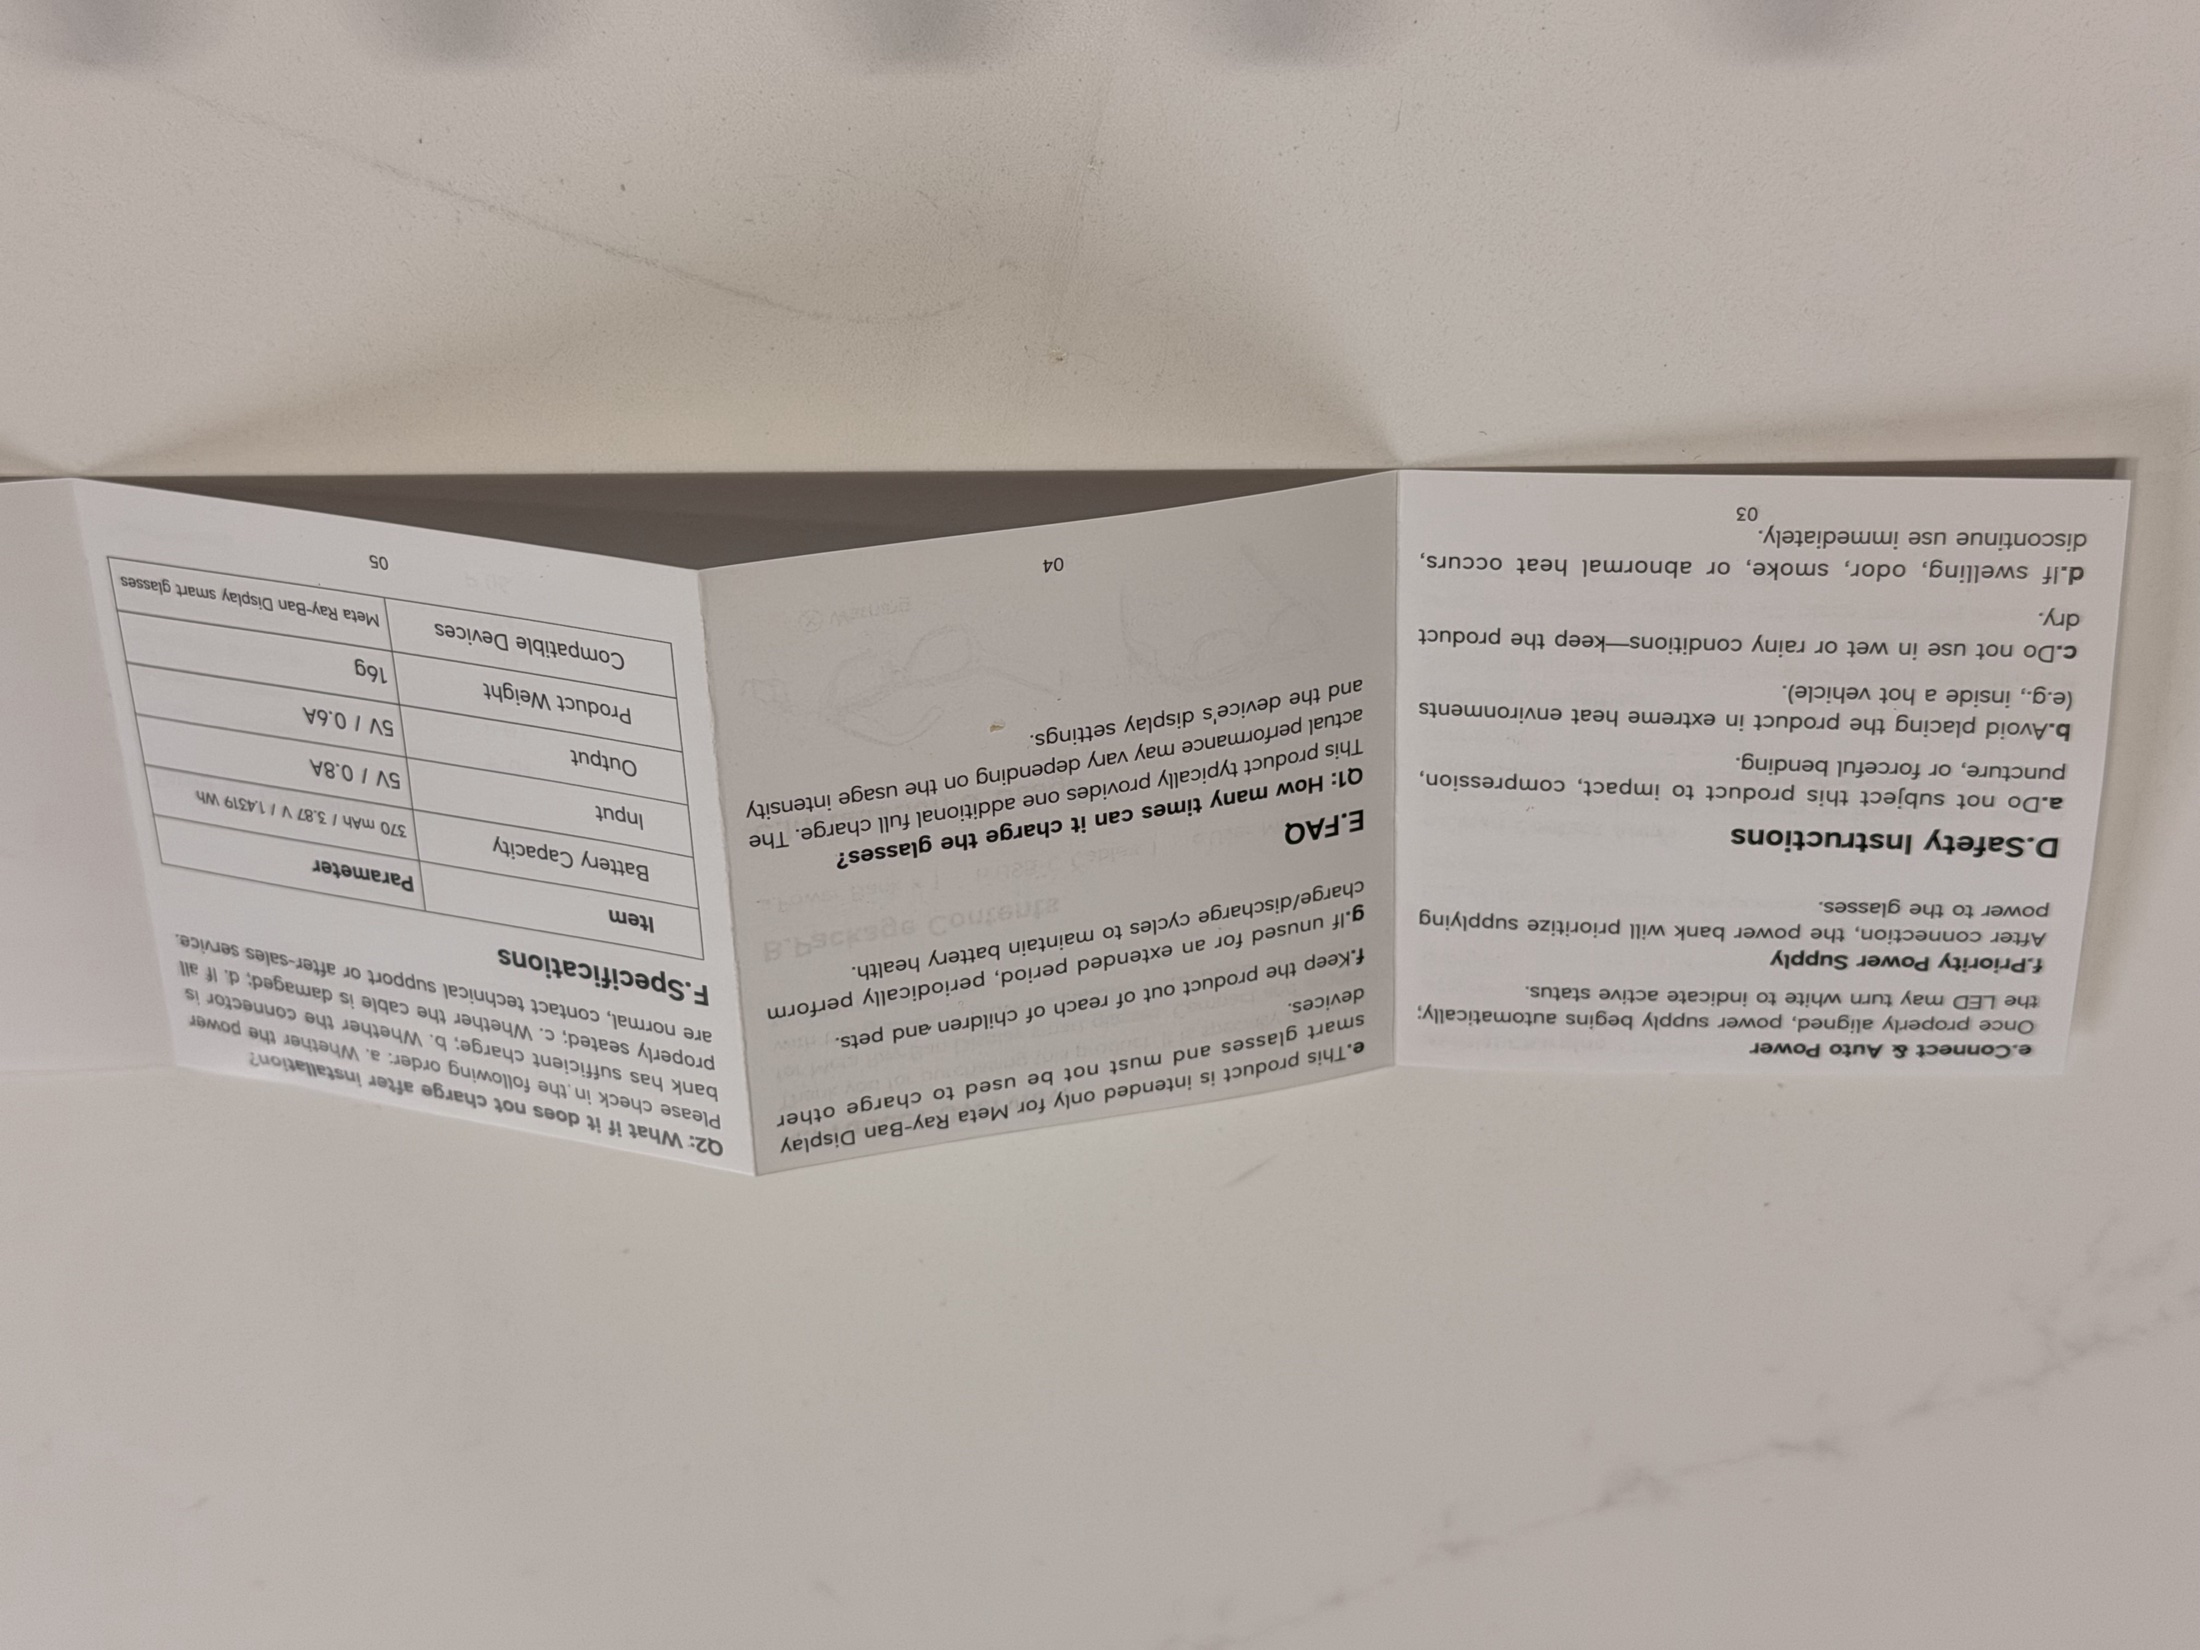
“Slide the silicone sleeve of the power bank onto the left temple of the glasses and adjust it to a secure position. Then, snap the charging connector into place from the inner side at the nose bridge of the glasses.”Product manual, Mount & Position
The brief
The electronics work well. The plastic housing, the clip and the cable break easily. The goal is a much stronger enclosure that reuses the original electronics.
Scope
- Design a new enclosure for the battery body and the T-connector that holds the original PCB, battery cell, charging pins and cable.
- Add proper strain relief at both cable exits.
- Redesign the temple clip so it does not snap during normal daily use (putting the glasses on and off).
- Use screws or snap-fit, no permanent glue, so the electronics can be moved to a new housing later.
- Keep total weight close to the original (under about 20 g) and keep the charging pins exposed and correctly aligned.
- Deliver STEP + STL files ready to order from JLC3DP (MJF PA12 nylon) and Xometry (CNC Delrin / acetal).
Cable
The original cable is very thin and is expected to fail too. Replacing it is fine as long as charging works and the connector contacts stay correctly aligned: durability matters more than keeping the original cable. Proposals for a tougher cable (for example silicone-jacketed stranded wire) with real strain relief at both ends are welcome.
Material
Must be non-conductive near the charging pins. PA12 nylon, glass-filled nylon or Delrin are being considered. Metal only if fully insulated inside. Open to recommendations.
Deliverables
STEP and STL files, plus a material and print / machining recommendation.
Specifications
From the product manual and the product listing. Caliper measurements in millimetres will be added here.
| Battery capacity | 370 mAh / 3.87 V / 1.4319 Wh |
|---|---|
| Input | 5 V / 0.8 A (USB-C) |
| Output | 5 V / 0.6 A |
| Product weight | 16 g |
| Item dimensions (listing, D × W × H) | 1.89 × 0.55 × 0.63 in (≈ 48 × 14 × 16 mm) |
| In the box | Battery unit, USB-C cable, 2 nose pads, manual, cleaning cloth |
| Protection (listing) | Over-current, over-voltage, over-power, over-temperature |
| Compatible device | Meta Ray-Ban Display smart glasses |
| Glasses, published dimensions (Standard) | 144 mm hinge to hinge · 47 mm lens width · 23 mm bridge · 129 mm temple |